Cash free Payments is a payments and banking Technology Company that enables businesses in India to collect payments online and make pay-outs.
Cash Free Configuration
Step 1:
Login or signup at cashfree.com and switch to the test environment
https://merchant.cashfree.com/merchants/landing?env=test
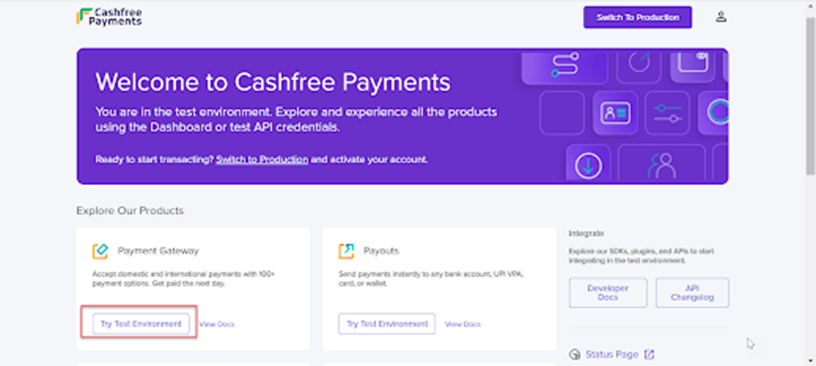
Step 2:
Click on “Try Test Environment” under the Payment gateway
Step 3:
Go to the developer’s option under the left navigation bar

Step 4:
Click on API keys and generate the keys and download them we would be using them for our REST connect
Pega Configuration
Step 1:
We would be required to create two REST connects
1) To create a new order for payment (Every payment is considered as an order for Cash free)
2) Verify the payment status (Validation)
a) Create Order:
1) Configure -> Integration -> Connectors -> Create REST Integration
2) Configure in the following way
Endpoint: https://sandbox.cashfree.com/pg/orders
Headers: Add the following
1) x-api-version
2) x-client-id
3) x-client-secret
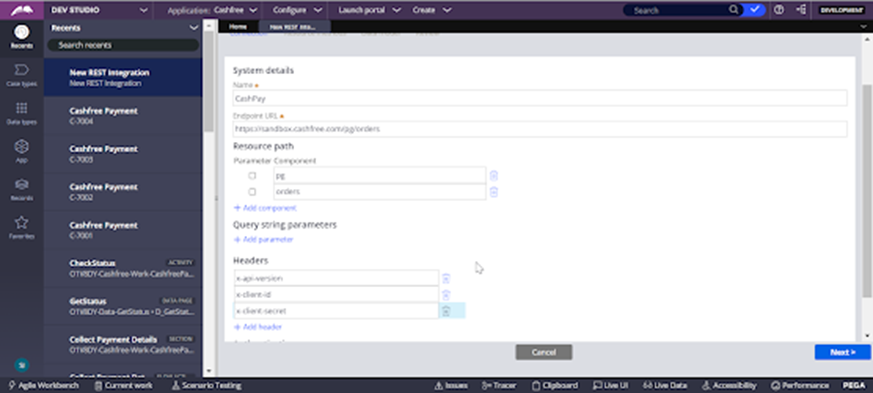
Click on Next
3) Choose the POST Method and continue
4) Click + Add response and enter your client ID and secret from the dashboard you download, pass the x-api-version as 2022-01-01
In the request body using the following json,
{
“order_id”: “order_1626945143520”,
“order_amount”: 10.12,
“order_currency”: “INR”,
“order_note”: “Additional order info”,
“customer_details”: {
“customer_id”: “12345”,
“customer_name”: “name”,
“customer_email”: “[email protected]”,
“customer_phone”: “9816512345”
}
}
5) Proceed and choose to create a new data page, in any of your desired class structure
and the generation process happens
b) Check Payment Status:
1) Create another REST integration with endpoint URL: https://test.cashfree.com/api/v2/orders/{orderID}/status
And add the same headers as before
2) Proceed with the method as “GET” as we are going to get the payment status
3) In orderID param use one of the orderID from the response you got from the previous connect-rest to check its status
4) You will see the response for the paymentStatus
5) Continue with the generation process
Step 2:
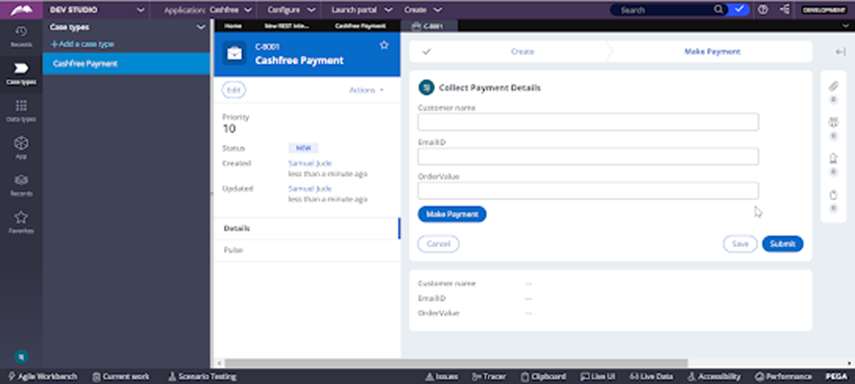
1) Create a Sample Case type (optional to test):
Use the following fields and add a button to invoke our connectors
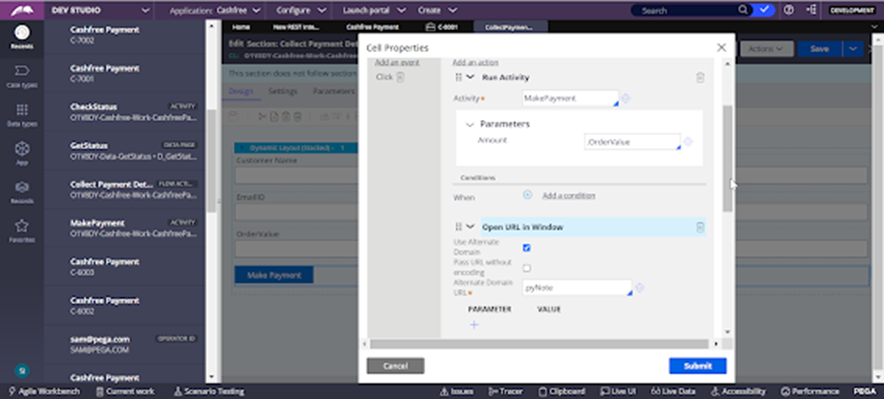
2) Add actions to the button in the following way:
Pass the Amount as a parameter to your activity
a) Optionally in your CreateOrder – data page you can pass some fields like name and phone number as a param to your request DT , in my case I pass the Amount field alone as a param
b) Similarly in your GetStatus data page pass your OrderID from the CreateOrder ConnectREST
c) Activity Configuration: This is my way of approach, feel free to go with your way

d) Make sure to pass the paymentLink to your open URL window to start the payment checkout
3) Validation: Additionally to check whether the user has made a payment you can use the getStatus data page (2nd connect rest response) to proceed with the case or not
Sample activity to check the same,
