“Your order is at your doorstep”
Confirmation messages are becoming part of our daily life. From creating an account in the bank,to ordering food online, these confirmation messages give some sort of clarification and confirmation about the action that the user performed. Let’s explore how PEGA handles this.
This article illustrates how the confirmation messages can be customized in PEGA.
Example Scenario:
ABC restaurant wants to provide confirmation messages, once the customer places an order with them. These messages will provide confirmation about the action that customer performed and it will guide them to proceed further.They decide to use PEGA platform to achieve their requirement.
Let’s explore how pega creates this magic….
Configuration:
Step 1:
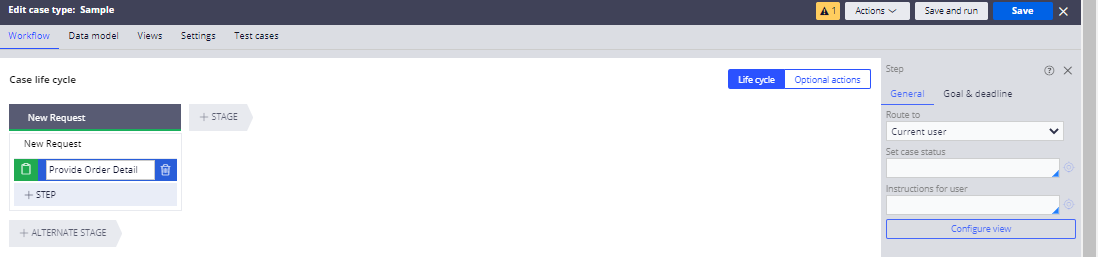
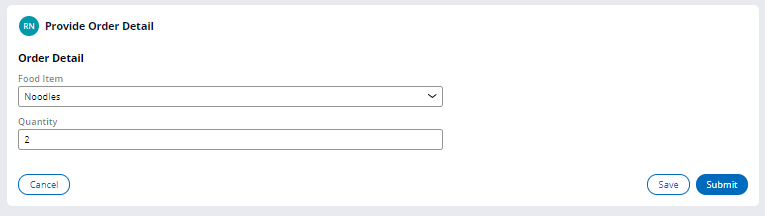
Create a case type (Eg: Sample) and provide a stage name as “New Request”. Add a collect info step name it as “Provide Order Detail”
Hurray! We are done designing our case life cycle.
Step 2:
Create a datatype “Food Order Detail” via clicking Data explorer—> add datatype—->give the label as Food Order Detail —>Submit. Once done with creating datatype add the necessary fields as shown below.

Step 3:
Configure the section of Food Order Detail are as follows:

Click Save and Run the casetype.
After providing the case data, submit the case. You will be able to view the CONFIRM HARNESS SCREEN with CONFIRMATION MESSAGE as below:

Now we are going to customise this confirmation message as per our requirement..
Step 4:
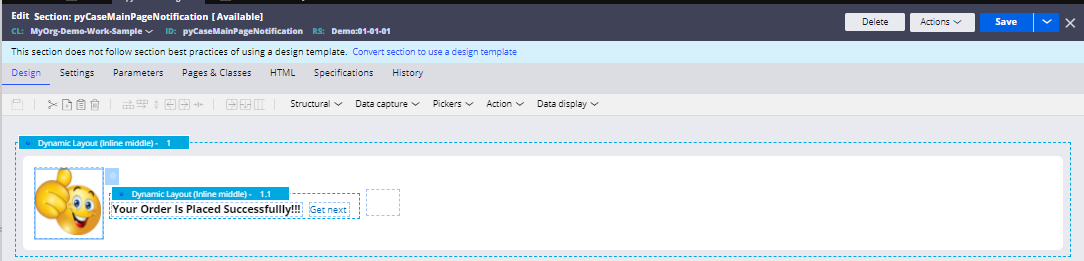
Search “pyCaseMainPageNotification” in the search bar, you will be to view the default confirm harness section in PEGA.

You can see that section is in work class, Since we want to customise this section only for our sample casetype, Click Save as and change the Apply To class alone..(i.e In the Apply To field provide the casetype class where you want the customised message to be displayed)

Click Create and Open.
Step 5:
In the section, click the gear icon of the label property which holds the confirmation messages

The cell property panel displays as below:
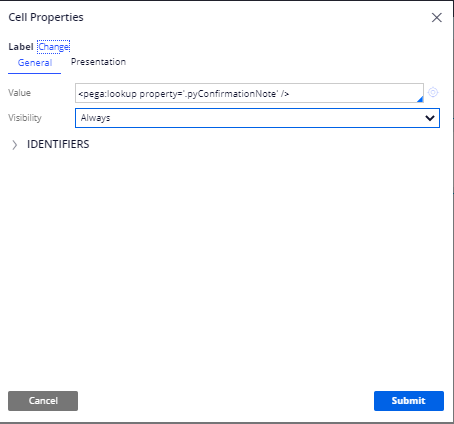
Delete the default confirmation message and provide the confirmation message as per our requirement (i.e Your Order Is Placed Successfully)
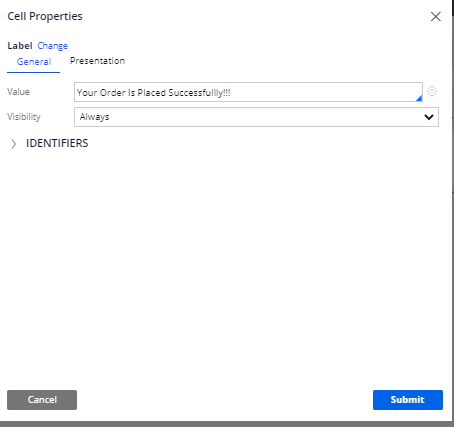
Move to the Presentation tab and change the label format from Standard to Heading 2

After committing changes, the section displays as below:

Step 6 :
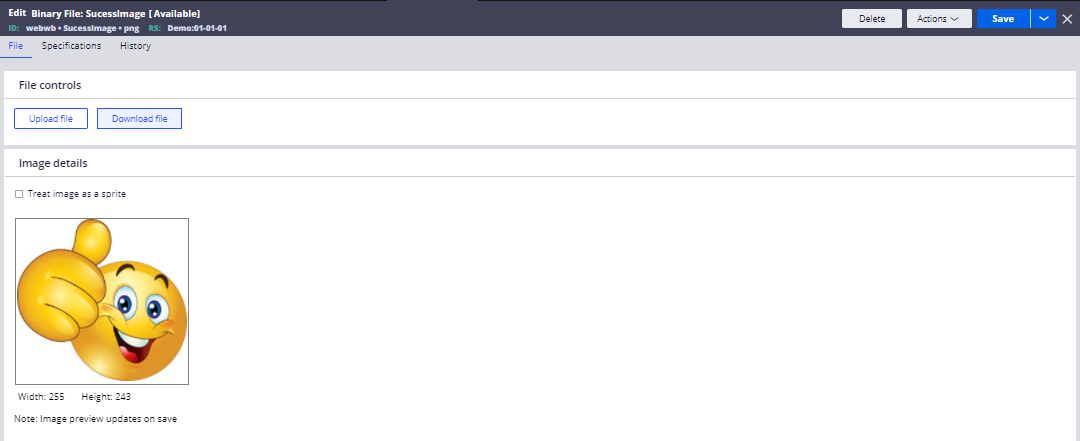
You can also add the success image along with the confirmation message. Create Binary file to hold the image by following the path :
Records—> Technical —>BinaryFile.
Provide the detail as below

Note : Before creating a Binary File, download any image from the internet. File type Extension should be the same as downloaded image format. (if you downloaded the PNG image provide the “File Type Extension” as PNG)
Upload the image and click save.
Now Move to the section to call this image in image control.
Step 7:
Add the Image control via Data Display—>Image. After adding the control, Open it and perform the following configuration:
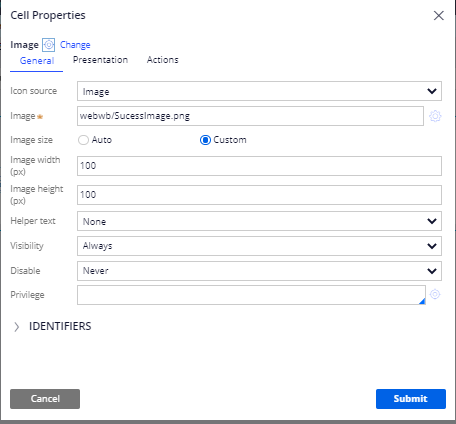
Note: “webwb” is the app directory, “SucessImage” is the name of the binary file which holds the image and is followed by “File Type Extension”.
Click Submit. The section displays as below. Click Save.
Hurray!!! The implementation part is done!!! Let’s run and check it.
Step 8:
Run the “Sample” casetype and provide the order details and submit the case.
As soon as you submit you will be able to see the confirm harness with the customized message .

Happy Learning!!!