Data Masking:
Data masking or data obfuscation is the process of hiding original data with modified content (characters or other data.) The main reason for applying masking to a data field is to protect data that is classified as personally identifiable information, sensitive personal data, or commercially sensitive data.
Steps to configure data masking:
1. Configure casetype:
- Create the casetype and Add the following two fields in a step which you want to apply Data Masking
- Password(password)
- Password(text)
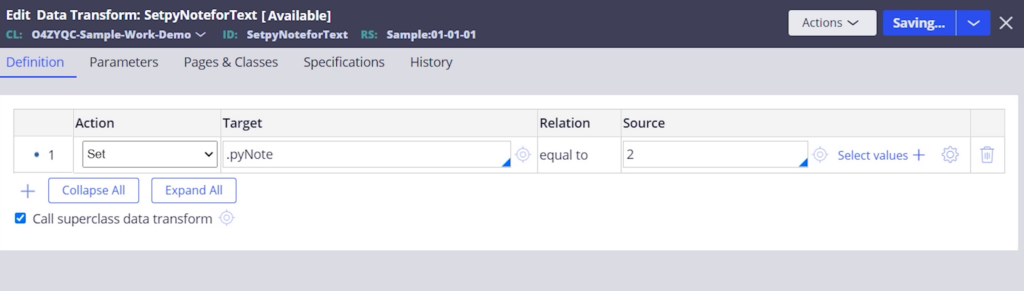
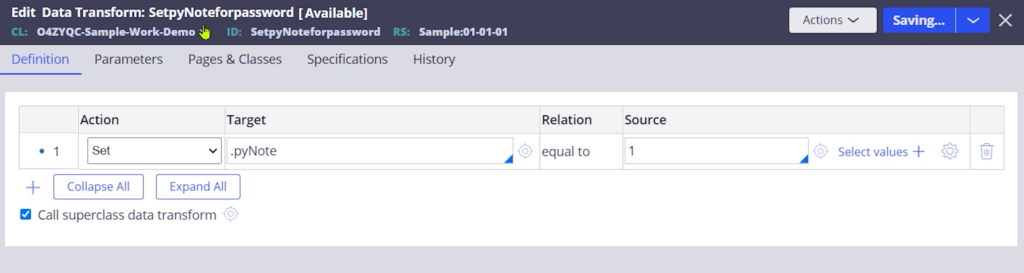
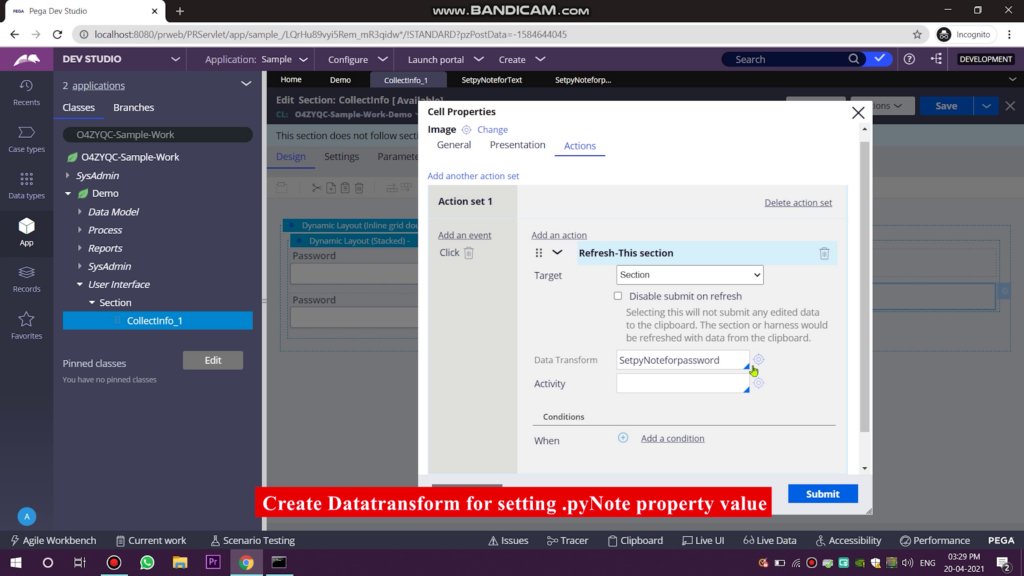
2. Create DataTransform:
- Create two DataTransform for setting the .pyNote property value
- Create–>Data Model–>DataTransform
- SetpyNoteforText
- SetpyNoteforPassword
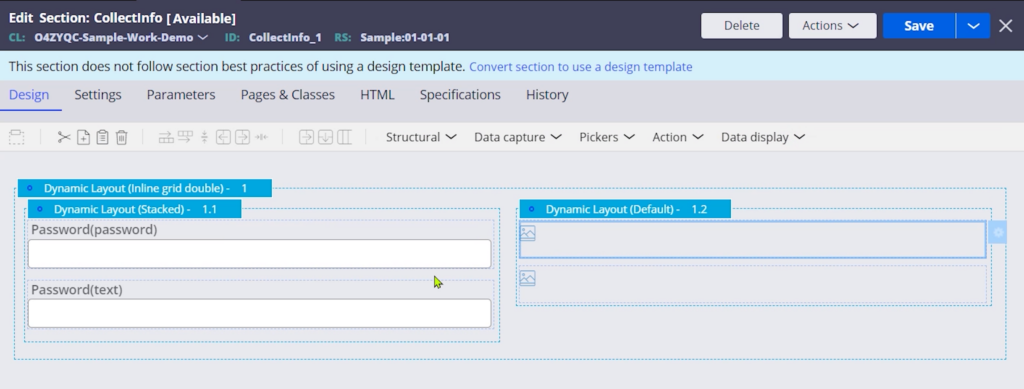
3. Configure Section:
- App explorer–>Casetype–>UserInterface–>Section
- Click “Convert to full section editor”
- Add one more dynamic layout (1) and Change the layout format into “Inline grid double”
- drag & drop exiting layout (1.1) into it
- Change the “Password(password)” field type into Password
- Add another dynamic layout(1.2) and add two image fields for masking & unmasking
- In each image field, select icon class in the source field and enter the icon class name
- For unmasking “pi pi-eye-solid”
- For masking “pi pi-eye-off-solid”
- Add visibility condition for all fields
| Password(password) field | .pyNote<=1 |
| Password(text) field | .pyNote=2 |
| Unmasking icon field | .pyNote<=1 |
| Masking icon field | .pyNote=2 |
- Add Action-set for all fields:
- For Password(password) field

- For Password(text) field:
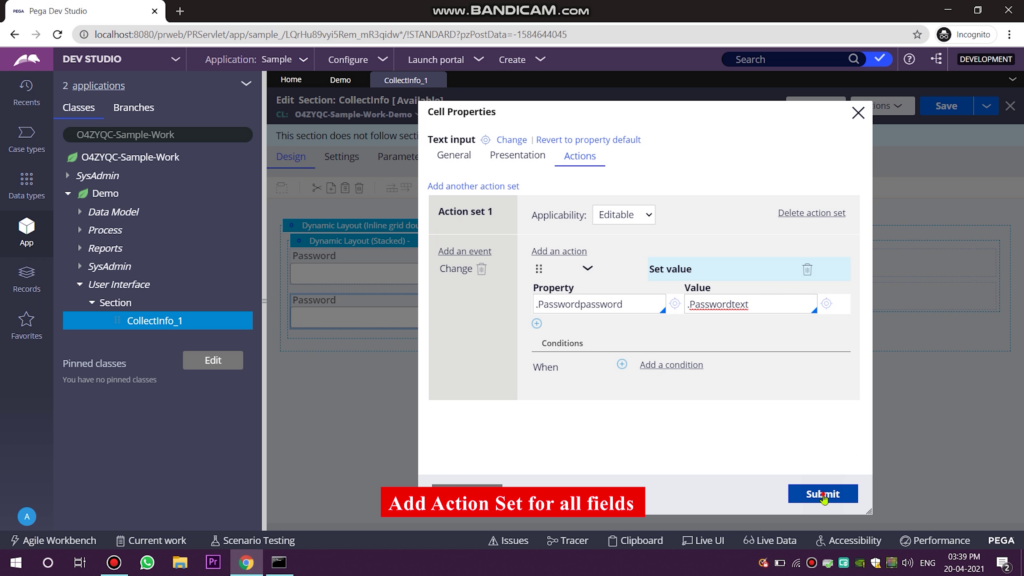
- For Unmasking icon field:

- For Masking icon field:
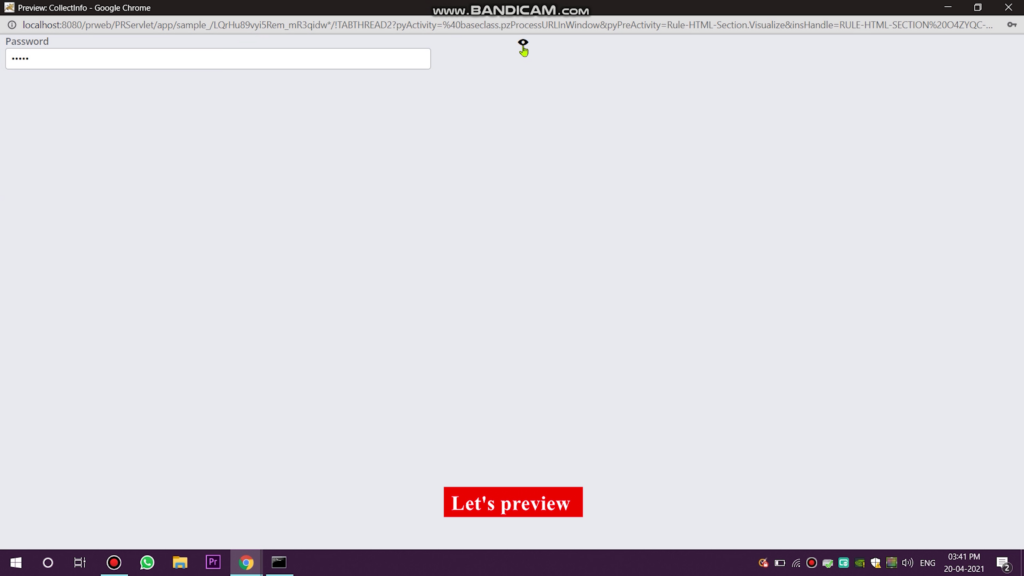
- Save the section rule and preview (Action–>Preview)
- For linear padding, Go to the presentation tab of the 1.2 layout
- enable “Display advanced presentation options” checkbox and enter padding-t-3x in the “content CSS class” field
Save and Run the Case type
Check password field values in clipboard pyWorkPage
Youtube Video: